Last updated November 20, 2026
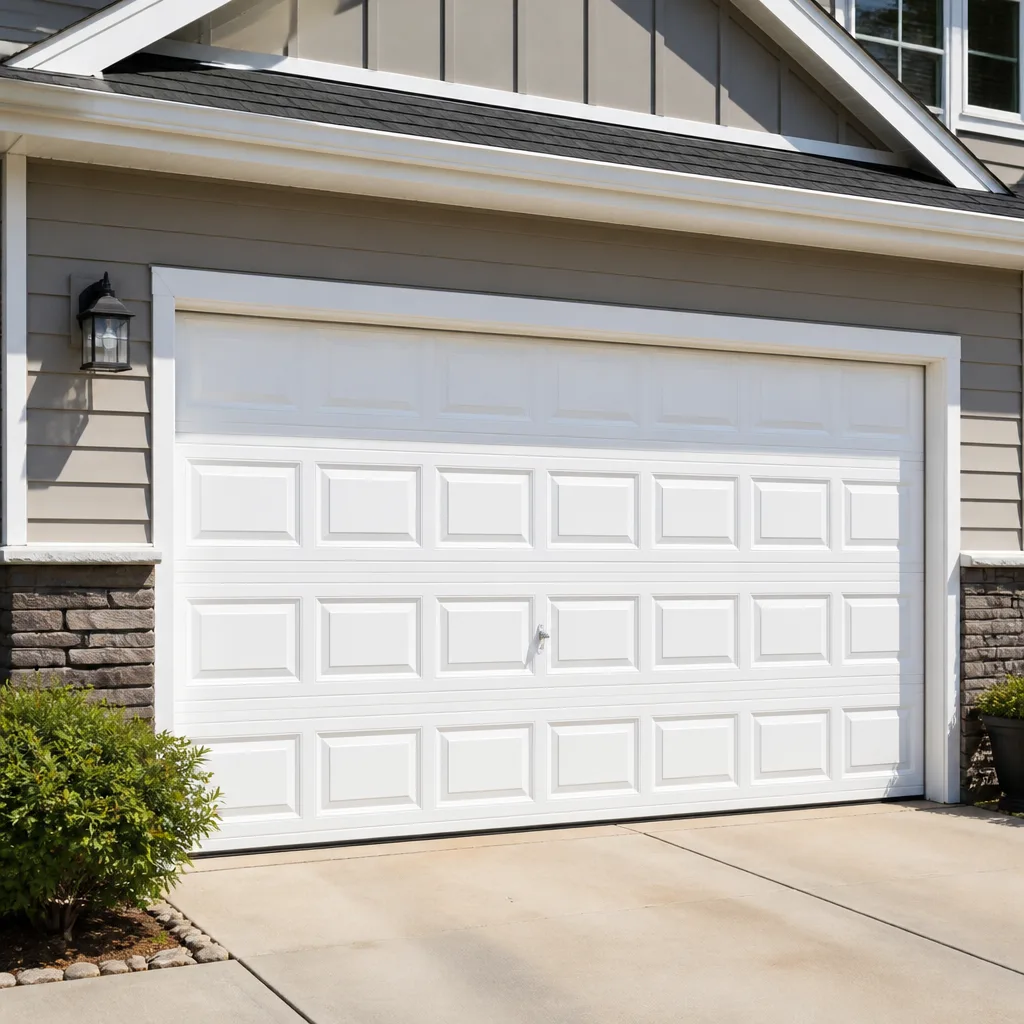 Raised-panel steel
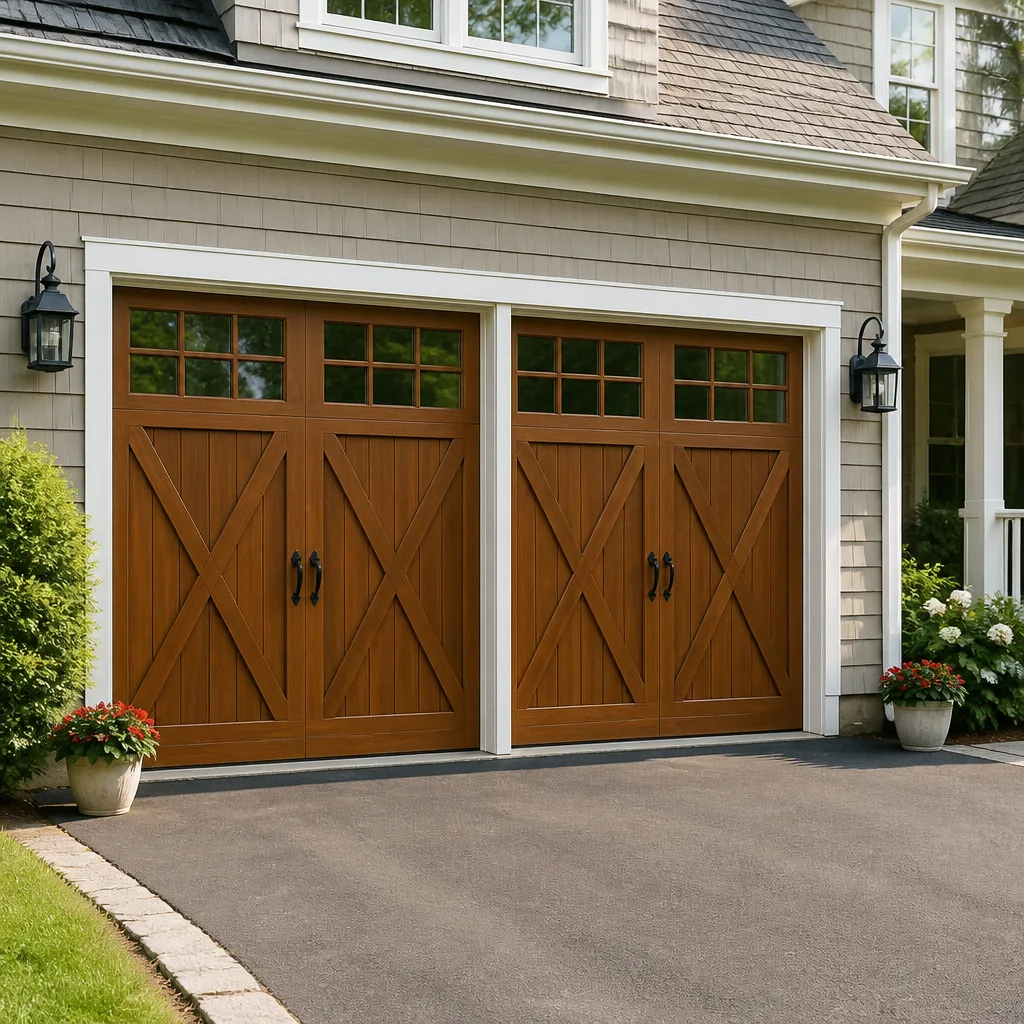 Carriage house
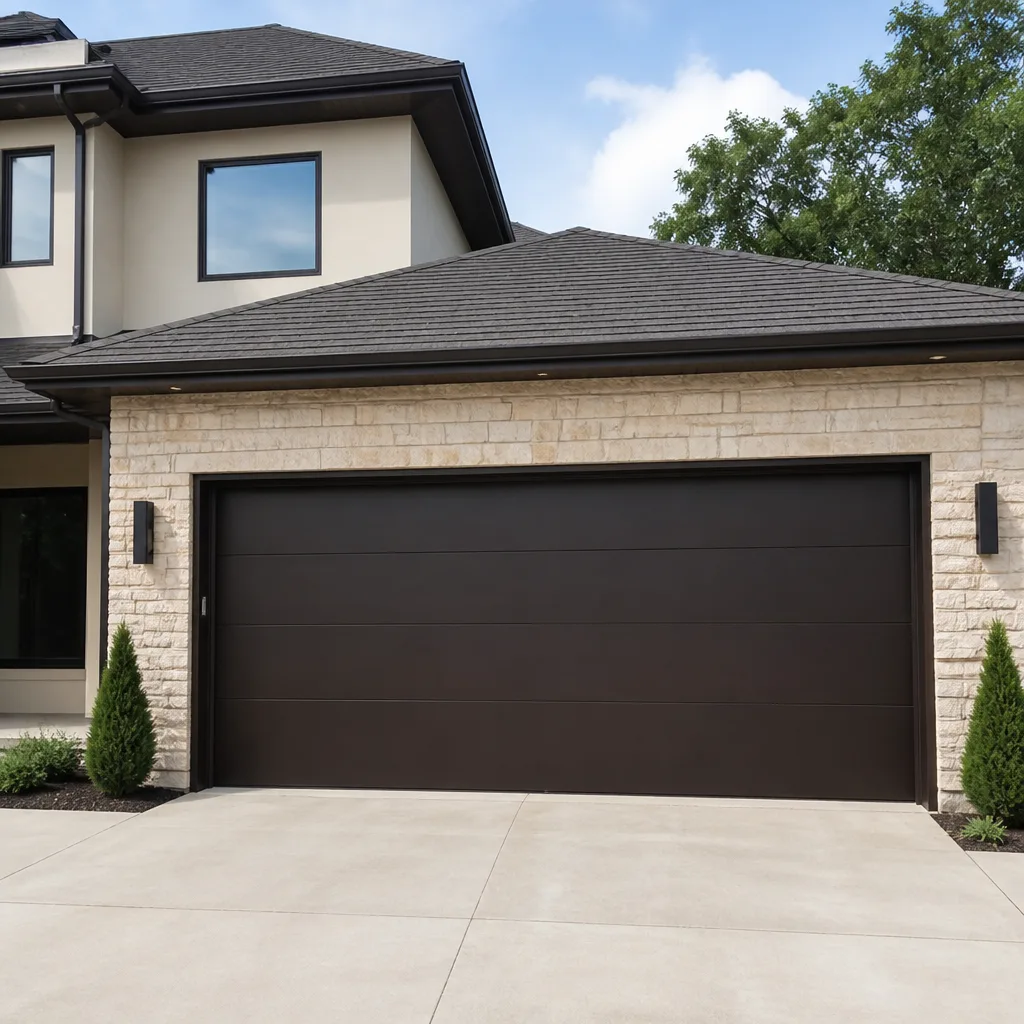 Modern flush
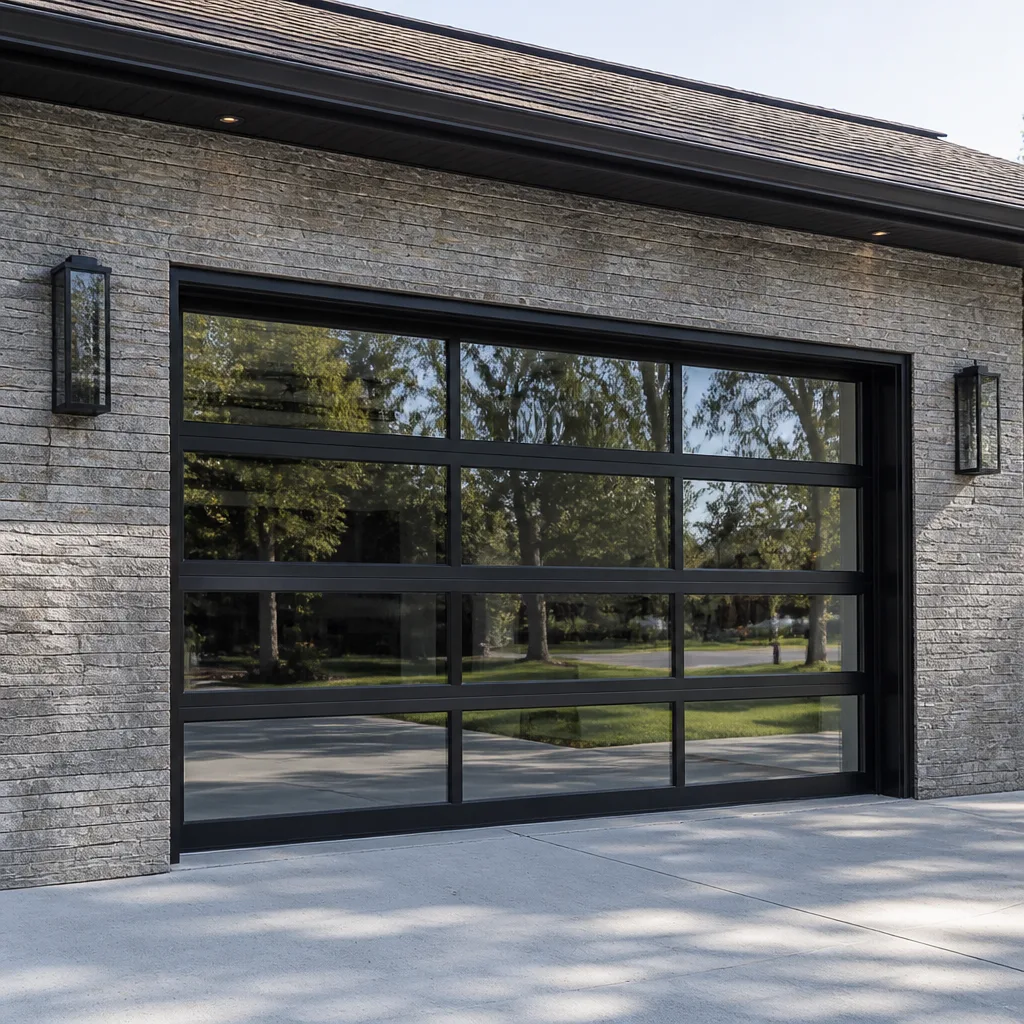 Full-view glass
 LiftMaster openers
 Chamberlain openers
Full 25-point door and opener safety check with every visit - springs, cables, rollers, tracks, and your LiftMaster or Chamberlain opener included
You get a price before we start. It does not change when the pro arrives.
Get your free estimateGarage Door Repair Maintenance Checklist for Mechanicsville Homeowners
Applying WD-40 to garage door rollers is one of the most common homeowner maintenance mistakes we hear about, and it does real damage: the solvent strips the nylon coating off sealed-bearing rollers and speeds up the exact wear you were trying to prevent. The right product is a lithium-based grease, and on rollers it only goes on three specific contact points. That difference between “lubricate moving parts” and knowing what goes where is the whole point of this guide. Below you’ll find a component-by-component checklist with pass/fail criteria, a lubrication map for every part of the door, the checks that catch Mechanicsville’s most common failure modes before they strand your car, and a clear line between what’s safe to handle yourself and what belongs to a trained technician.
Quick Answer
A garage door maintenance checklist for Mechanicsville homeowners should cover seven areas: springs, cables, rollers, hinges, tracks, the opener’s safety reverse system, and the door’s balance. Inspect springs and cables visually only, lubricate rollers, hinges, and torsion springs with lithium-based grease (never WD-40 on sealed rollers), clean tracks with a dry cloth instead of greasing them, and test the auto-reverse function monthly. Balance the door by hand with the opener disengaged. Spring and cable work is high-tension work and should always go to a trained technician.
Styles & brands we work with
- Raised-panel steel
- Carriage house
- Modern flush
- Full-view glass
- LiftMaster openers
- Chamberlain openers
Table of Contents
- How a Garage Door System Works and Why Maintenance Matters
- The Monthly Five-Minute Safety and Function Checklist
- The Seasonal Maintenance Schedule for Mechanicsville’s Humidity
- The Lubrication Map: What Goes Where and What Never Gets Greased
- How to Test Auto-Reverse on LiftMaster and Chamberlain Openers
- Springs and Cables: What You Can Check and What You Shouldn’t Touch
- Balance Testing and Track Alignment: Pass/Fail Criteria
- Brand-Specific Wear Points: LiftMaster, Chamberlain, Wayne Dalton, and Raynor
How a Garage Door System Works and Why Maintenance Matters
A sectional garage door is a balance machine. Torsion springs, mounted on a shaft above the door, store energy as the door closes and release it as the door opens, so the opener only has to guide a nearly weightless door rather than lift a heavy one. Extension springs, common on older single-car doors, do the same job along the horizontal tracks. Cables connect the springs to the bottom brackets, rollers ride in the tracks, and hinges join the panels. Every part depends on the others, which is why one neglected roller can eventually wear a hinge, throw the track out of alignment, and force the opener to work harder than it was built to.
In Mechanicsville, that chain of wear gets pushed by the weather. Summers here are humid enough that condensation forms on the coldest metal in the garage – the springs and track – most mornings. Winter brings the opposite problem, with dry indoor air and temperature swings that work hardware loose. A door that gets a fifteen-minute check twice a year and a five-minute function test each month stays ahead of both. A door that gets nothing tells you it’s failing at the worst possible time, usually with the car inside and somewhere to be.
Maintenance also protects the safety systems. The auto-reverse mechanism and the photo-eye sensors are the two features standing between a closing door and anything in its path. They’re also the first things to drift out of adjustment, and they need testing on a schedule, not just when something feels off.
The Monthly Five-Minute Safety and Function Checklist
Run this quick checklist once a month. It takes about five minutes, needs no tools beyond your eyes and hands, and it catches the small problems before they turn into a stuck door. Do it with the door closed first, then run the door.
- Look at the springs. A torsion spring should look like a clean coil of steel. A visible gap in the coil means the spring has broken. That’s a fail, and the door should not be operated until a technician replaces the spring. garage door spring repair is high-tension work and not a homeowner job.
- Check the cables. With the door closed, both cables should sit tight against the drum with no fraying, kinks, or slack. Any of those is a fail; call a professional rather than running the door.
- Test the auto-reverse. Place a roll of paper towels flat under the closing door and let the door come down on it. The door should reverse on contact. If it doesn’t, the force setting needs adjusting (see the section below).
- Test the photo-eye sensors. With the door open, wave an object through the light beam between the two sensors mounted at the bottom of the tracks. The door should refuse to close, or reverse if it’s already closing. If the sensors’ indicator lights aren’t steady, wipe the lenses and check alignment.
- Listen to the door. A door that runs quietly on Monday and grinds on Friday is telling you something changed: a loose hinge, a dry roller, or a roller that’s come out of the track. Grinding is a symptom, not a personality trait.
- Eyeball the hardware. Look at the hinges and the brackets at the bottom corners. Loose bolts are common after a season of temperature swings, and a socket wrench and a few minutes will fix them.
Anything on this list that fails, or that you’re not sure about, is worth a look from someone who sees the same failures every week. We diagnose by brand, not by assumption, which means a LiftMaster opener with a force problem and a Genie opener with a force problem get the right fix for each.
The Seasonal Maintenance Schedule for Mechanicsville’s Humidity
Mechanicsville’s seasonal humidity changes what deserves your attention in a given month. Spring and early summer are wet; the garage stays damp and cold metal sweats. Late fall and winter bring dry air, wood-framed doors that shrink at the joints, and hardware that loosens from repeated expansion and contraction. The list below splits the work by season so you’re checking the right things at the right time.
What to Check in April (After the Wet Months)
- Track alignment. Winter moisture and a spring of settling can push a track slightly out of plumb. Look down each track from the open door: it should be straight and parallel to the door edge. Any bend is a call to a technician.
- Rust on springs and hardware. Surface oxidation on torsion springs is common in a humid garage and doesn’t always mean replacement, but heavy pitting does. A technician can tell you which one you have.
- Wood door joints (if you have one). Wood panels swell in humid weather. Check for binding at the section joints and at the bottom weather seal.
- Weather seal at the bottom. A dried, cracked bottom seal lets water and pests in. It’s a cheap part and an easy check.
What to Check in October (Before the Dry Months)
- Hinge and bracket bolts. Dry heat and cold nights work fasteners loose. A pass over every hinge with a socket wrench is the highest-value ten minutes on this list.
- Roller condition. Look at each roller as the door moves. A roller with a flat spot, a wobble, or a missing nylon wheel is a fail. Rollers that still spin freely with the door half-open are fine.
- Door balance. Cold weather stiffens grease. If the door feels heavier than it did in summer, the balance test (below) will tell you whether it’s the grease or a weakening spring.
- Opener force setting. As temperatures drop, a door that was in adjustment in July can trip the force sensor and refuse to close. Re-test the auto-reverse and photo eyes before the first cold snap.
Homeowners on a twice-a-year routine get the most out of this schedule: the full checklist in April, a quick pass in October, and the five-minute monthly test in between. That cadence catches almost every failure we see before the door stops working entirely.
The Lubrication Map: What Goes Where and What Never Gets Greased
This is where most homeowner maintenance goes wrong. “Lubricate the moving parts” is not a useful instruction, because different components need different products and some parts shouldn’t be lubricated at all. Here’s what goes where, and what to leave alone.
Use Lithium-Based Grease or a Silicone Spray Here
- Torsion springs (the coil above the door). A light coat of lithium grease on the coil helps the spring wind and unwind smoothly and slows surface rust in a humid garage. Apply it with the door closed and the spring at rest, never with the door open and the spring under tension.
- Roller stems and bearings. Lithium grease on the metal stem of each roller, where it meets the hinge and the bearing, is the right product. This is the “three specific contact points” from the opening: the top and bottom of each roller stem, and the bearing surface itself. Never spray the wheel.
- Hinges. A small dab of lithium grease on each hinge pivot keeps them quiet and free. Wipe off the excess; grease attracts dust and dirt, which is exactly what you don’t want in a hinge.
Use a Dry Lubricant or Nothing on These
- Tracks. Never grease the tracks. Grease traps grit and dust, and a gritty track wears rollers out fast. Clean tracks with a dry cloth or a slightly damp rag, and leave them dry. If a track squeaks, the problem is usually a roller, not the track.
- Sealed nylon rollers. Never apply WD-40, oil, or grease to the wheel itself. The nylon coating on sealed rollers is a wear surface; solvents strip it and oils break down the seal.
- Photo-eye lenses. Clean with a dry, soft cloth only. Never spray anything on the sensors.
What to Never Lubricate At All
- The opener rail (the track the carriage rides on). The rail is meant to be dry. Greasing it collects hair, dust, and grit, and the carriage eventually jams.
- The torsion bar and bearing plates. These are sealed or meant to run dry. Adding grease to a bearing plate that wasn’t designed for it can attract debris.
- The cables. Never grease a cable. Grease on a cable hides fraying and can trap grit that accelerates wear.
One more note: if you’ve been using WD-40 on your rollers for years, the damage may already be done. Worn rollers are cheap and easy to replace, and it’s one of the most common fixes we handle. The right product matters more than the frequency.
How to Test Auto-Reverse on LiftMaster and Chamberlain Openers
Auto-reverse is the safety feature that stops and reverses a closing door when it meets an obstruction. It’s required to meet UL 325 safety standards, and it needs testing monthly. The test is the same on a LiftMaster and a Chamberlain (they share much of the same digital logic circuit), but the force adjustment process differs slightly between their opener families. Here’s the test and the adjustment.
Testing Auto-Reverse (Step by Step)
- Clear the door’s path. Make sure nothing is under the door and no one is standing in the way.
- Place a test object. A roll of paper towels, a brick on its side, or a piece of 2×4 laid flat at the center of the door opening works. It should be tall enough that the door meets it before fully closing.
- Close the door with the wall control. The door should reverse direction on contact with the test object and travel back up.
- If it doesn’t reverse, the door force setting is too high. That’s an adjustment, not a repair – but it’s one that matters.
- Repeat the test monthly, and any time the door, the springs, or the opener has been serviced.
Adjusting Force on a LiftMaster or Chamberlain
On most LiftMaster and Chamberlain openers with a digital display or adjustment panel, the force setting is set by the “up” and “down” force controls on the back or side of the motor unit, or through the MyQ app on newer models. The goal is the lowest force setting that still closes the door reliably. Too low and the door reverses on its own; too high and it can press on an obstruction with real force. The exact procedure depends on the model – a LiftMaster with a battery backup and a Chamberlain with Wi-Fi look different inside – so check the model-specific manual, or have a technician set it. garage door opener repair that’s brand-aware starts with the force setting and the photo eyes, not the motor.
Force that drifts out of adjustment is often a symptom rather than a cause. A door that suddenly needs more force is usually a door with a binding track, a stiff roller, or a spring that’s lost tension. The right fix is upstream, not cranking the force up.
Springs and Cables: What You Can Check and What You Shouldn’t Touch
Springs and cables are the two components on a garage door that can hurt you, and they’re the two where the line between “check” and “repair” matters most. A torsion spring is under hundreds of pounds of tension even when the door is closed. A spring that lets go can be violent, and a cable that snaps under tension is worse. The safety caveat is simple: inspect visually, never adjust, and call a trained technician for anything beyond that.
What You Can Safely Check
- Visual gap in a torsion spring. Look at the coil above the door. A clean break, with a gap in the coil, means the spring is broken. Do not operate the door.
- Extension spring stretch (older doors). The two springs alongside the horizontal tracks should look even and neither should be stretched longer than the other. Uneven stretch means one is failing.
- Cable condition. With the door closed, cables should sit tight and unworn. Any fraying, a bird’s-nest tangle at the drum, or slack in the cable is a fail.
- Lift test. With the opener disengaged, lift the door halfway by hand and let go gently. A balanced door stays put, or drifts only slightly. A door that slams down or flies up has a spring or balance problem.
What You Should Never Do Yourself
- Never unwind or adjust a torsion spring. The winding bars, the number of turns, and the tension calculation all matter. A spring that lets go mid-adjustment is a serious injury risk.
- Never unhook or adjust extension springs. Even older extension springs, often fitted with a safety cable, can be dangerous if the safety cable has been removed or has failed.
- Never cut or shorten a cable. Cables are cut to length and swaged at the factory. A re-swaged cable is not the same part.
- Never prop a door open on a broken spring. A broken spring means the door is unbalanced. It can come down fast if it’s lifted.
Spring repair is treated as a dedicated specialty in our work, not as an upsell. It’s why we keep garage door spring repair separate from the general repair line: high-tension work needs the right tools, the right procedure, and a technician who’s done it hundreds of times. If you’re in Mechanicsville and you suspect a spring, that’s the call.
Balance Testing and Track Alignment: Pass/Fail Criteria
A garage door should feel almost weightless when you lift it by hand. If it doesn’t, the springs are either working too hard or not hard enough. This test is safe and simple; do it with the door closed and the opener disengaged.
The Balance Test, Step by Step
- Disengage the opener. Pull the emergency release handle (the red cord). The door should now move freely by hand.
- Lift the door to about waist height. Use both hands on the bottom section, lift slowly, and let go.
- Pass: the door stays roughly where you left it, or drifts slowly. Fail: the door slams down, flies up, or won’t stay up. A failing balance test points to a spring or cable issue, and the door shouldn’t be run with the opener until it’s fixed.
- Lower the door gently, and re-engage the opener by pulling the release handle back and running the opener once.
Track Alignment Check
With the door open, look down each vertical track from the top. It should run straight and parallel to the door’s edge; any visible bow, kink, or outward push is a fail. With the door closed, look at the horizontal tracks overhead: they should sit level and the rollers should be snug in the track without being pinched. A track that’s been bumped (by a car, a ladder, or a heavy box) is a common cause of a door that grinds. A track that’s out of alignment is a professional repair, because bending it back into true without damaging the roller or the door panel takes a trained hand.
Roller and Hinge Pass/Fail
- Roller pass: spins freely by hand, has a full nylon or steel wheel, no flat spot, no wobble in the stem.
- Roller fail: flat spotted, wobbly, missing the nylon wheel, or squealing despite lubrication. A failing roller should be replaced as a set, not one at a time.
- Hinge pass: tight against the door panel, pivots freely, no elongated screw holes.
- Hinge fail: loose, bent, or the screw holes in the panel are stripped and the screw won’t hold.
If your balance test fails or your track is out of alignment, the door needs service before the opener is used again. Running an opener on an unbalanced door is the fastest way to turn a repair into a replacement. That said, garage door repair on a door that’s simply out of adjustment is usually a quick fix.
Brand-Specific Wear Points: LiftMaster, Chamberlain, Wayne Dalton, and Raynor
Garage doors are not one-size-fits-all, and neither is the maintenance. We’ve worked on enough LiftMaster, Chamberlain, Genie, Clopay, Amarr, Wayne Dalton, Craftsman, and Raynor systems to know which parts on each brand tend to wear first. That’s the value of brand-aware maintenance: you’re looking at the parts most likely to fail on your door, not a generic list.
- LiftMaster and Chamberlain openers (including Craftsman, which shares the same chassis): the most common wear point is the logic board and the travel module. The travel limit switch drifts first; if the door stops short or runs too far, that’s often the fix. The MyQ Wi-Fi module on newer units can also drop off the network, which is a symptom to note but rarely a mechanical problem.
- Wayne Dalton doors (especially TorqueMaster springs): the TorqueMaster system is a sealed spring assembly inside a tube. It’s an elegant design, but a failed TorqueMaster unit means the whole assembly is replaced, not just a spring. If you have a Wayne Dalton door with a TorqueMaster tube, spring inspection is a call to a technician, not a check-and-tighten.
- Raynor doors: Raynor’s commercial-grade hardware holds up well, but the door’s hinges and rollers still need the same check as any other brand. The most common wear point is the bottom bracket and the bottom weather seal, which take the most stress from the door’s daily cycle.
- Genie openers: the screw-drive Genie models run on a steel screw, and the most common maintenance item is the screw’s lubrication and the carriage. A dry screw drive squeals; the right fix is a light film of the grease the manual specifies, not WD-40.
Our technicians have up to 13 years of experience across these brands, and we work on your brand from the first visit. That means a LiftMaster logic board issue gets diagnosed as a LiftMaster logic board issue, not a mystery. Garage doors are all we do, so the parts and the procedures are the ones we use every week.
Common Mistakes to Avoid
- Spraying WD-40 on sealed rollers. It strips the nylon coating and accelerates wear. Use a lithium-based grease on the roller stems and bearings only, never on the wheel itself.
- Greasing the tracks. A greased track traps dirt and grit, and the grit wears out rollers fast. Clean with a dry cloth and leave them dry.
- Adjusting the opener force to “fix” a sticking door. Cranking the force up so the opener can push through a sticking track or a weak spring just hides the real problem and stalls the opener. Fix the door first, then set the force.
- Skipping the auto-reverse test. It takes thirty seconds and it’s the one check that matters if something is under the door. Test it monthly.
- Ignoring a broken spring and running the door anyway. A door on a broken torsion spring is unbalanced and unsafe. It can come down on you if you’re lifting it, and it’s hard on the opener.
- Treating a Wayne Dalton TorqueMaster spring like a standard torsion spring. The TorqueMaster is a sealed assembly. A visual inspection starts with a technician, not a homeowner with a winding bar.
- Greasing the opener rail. The rail is meant to run dry. Grease collects grit and eventually jams the carriage.
See the difference
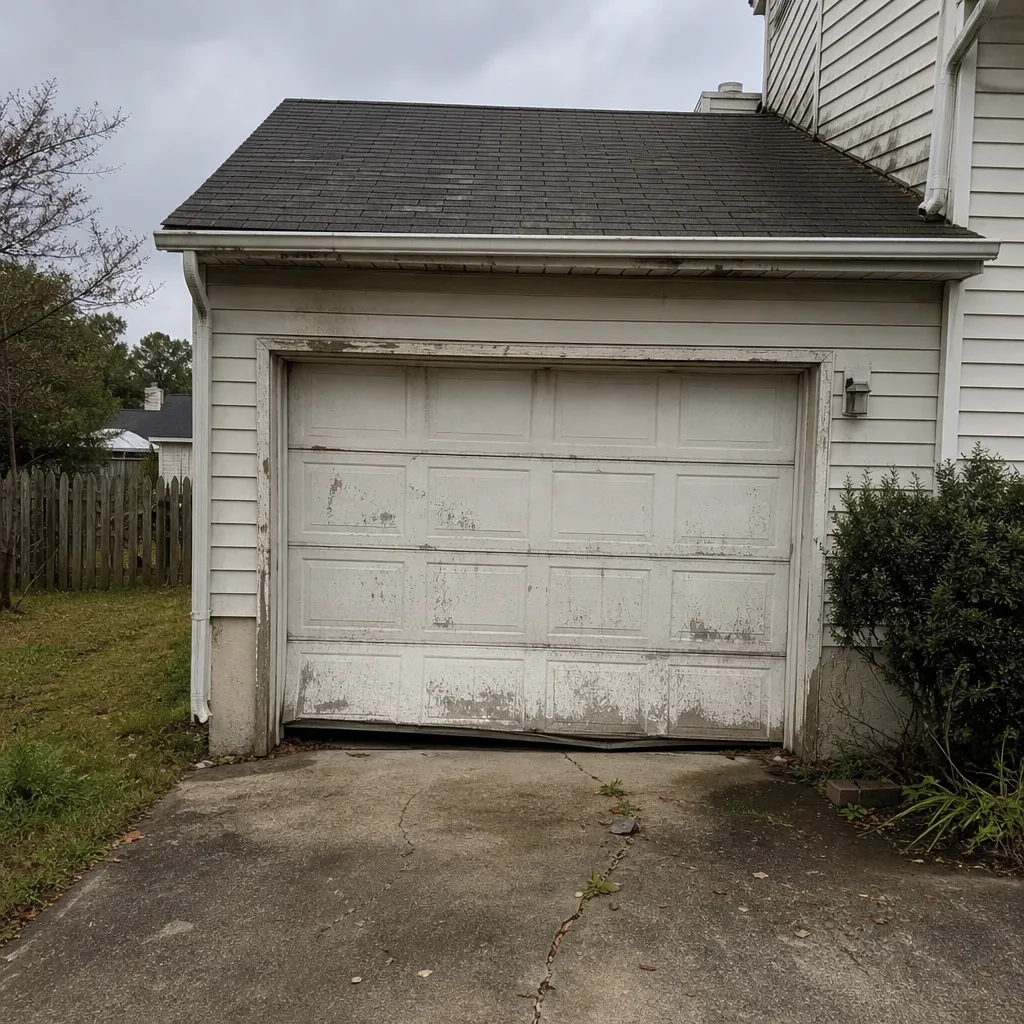 Before
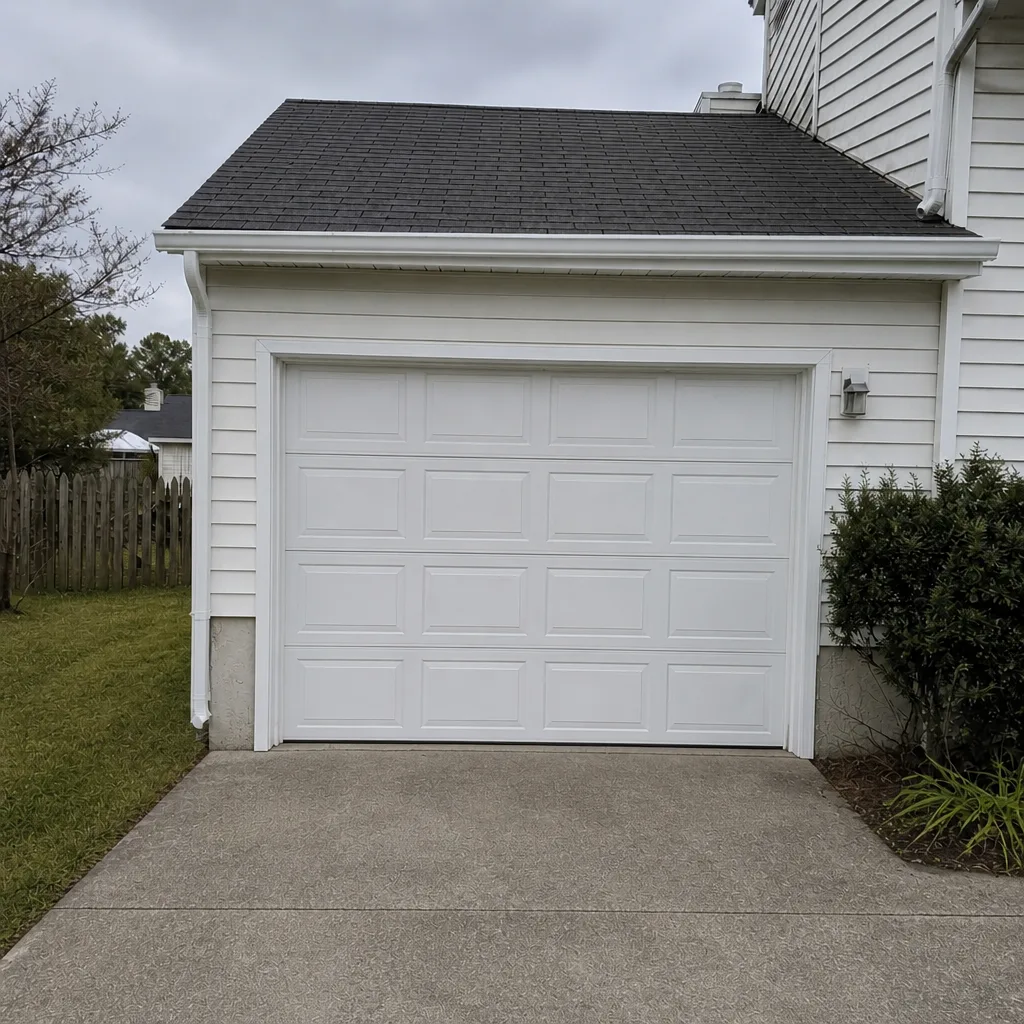 After
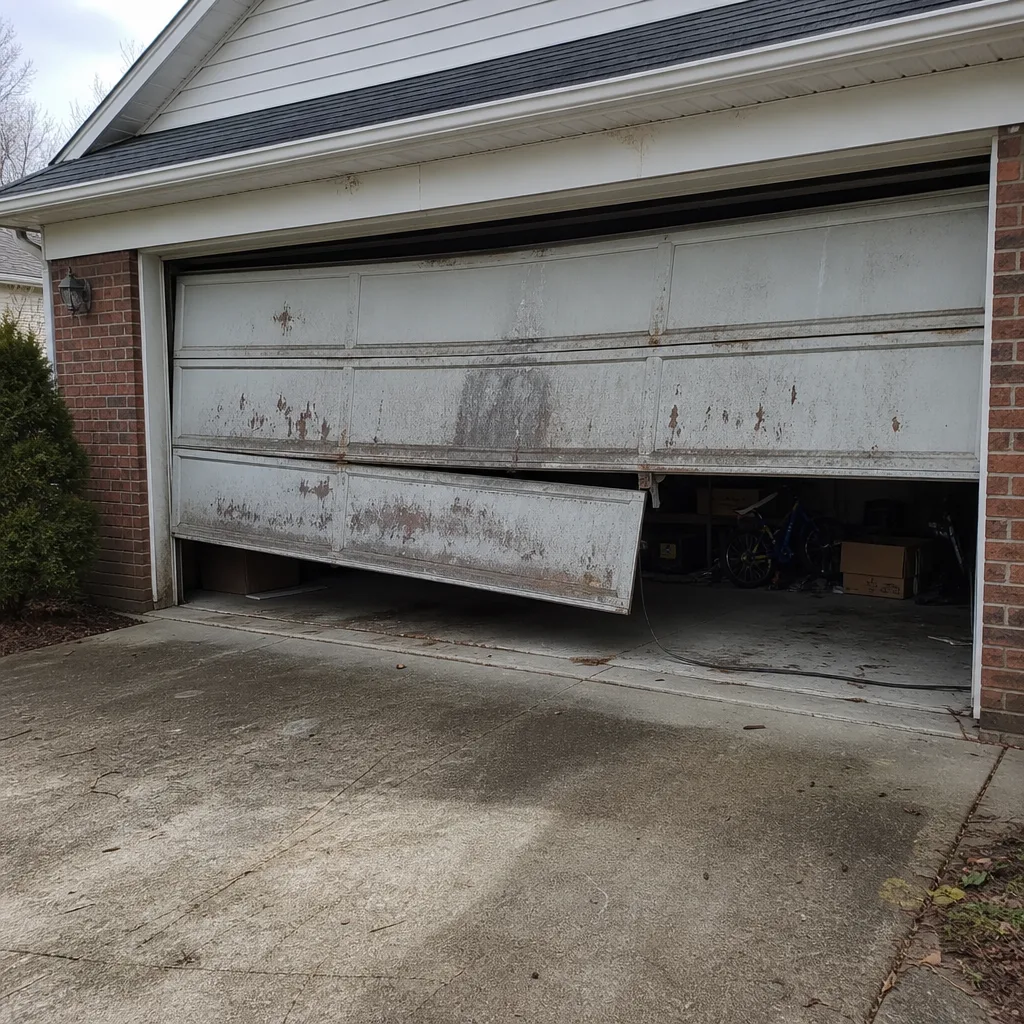 Before
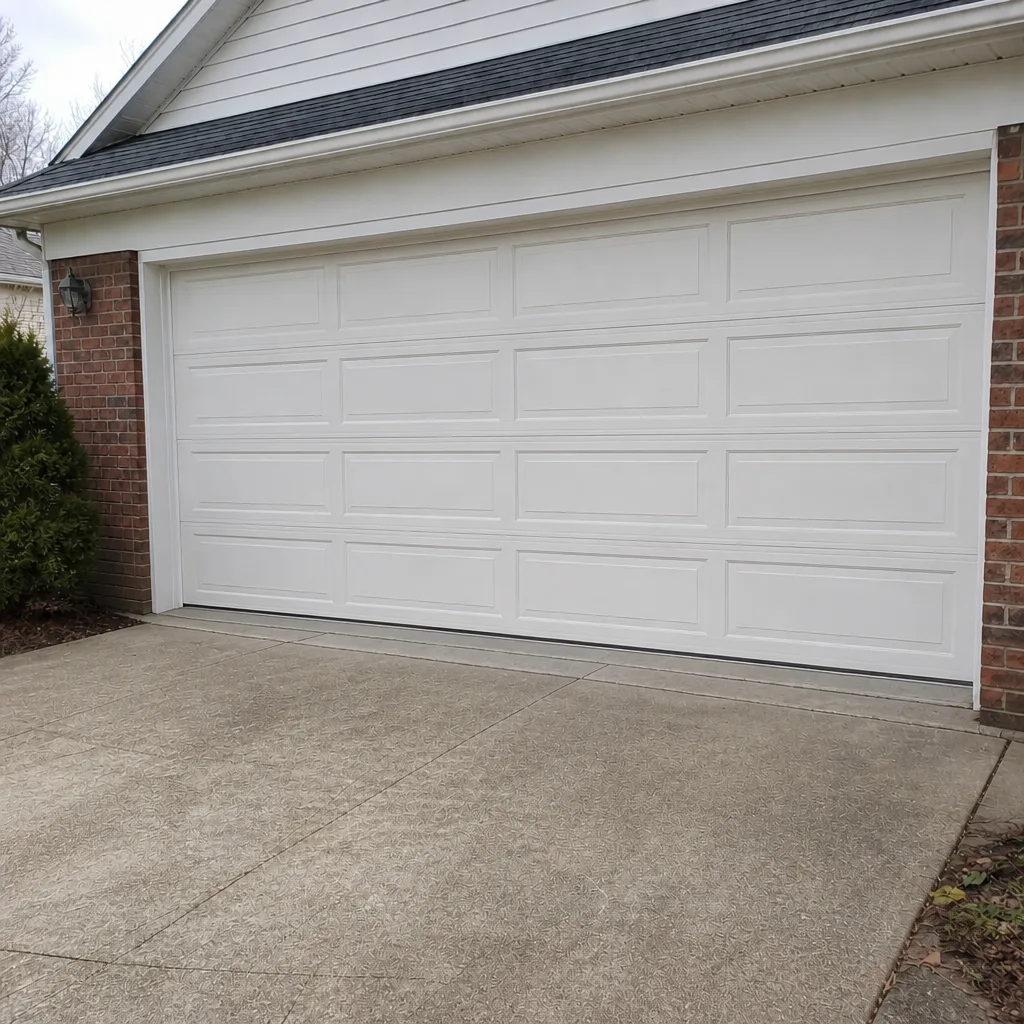 After
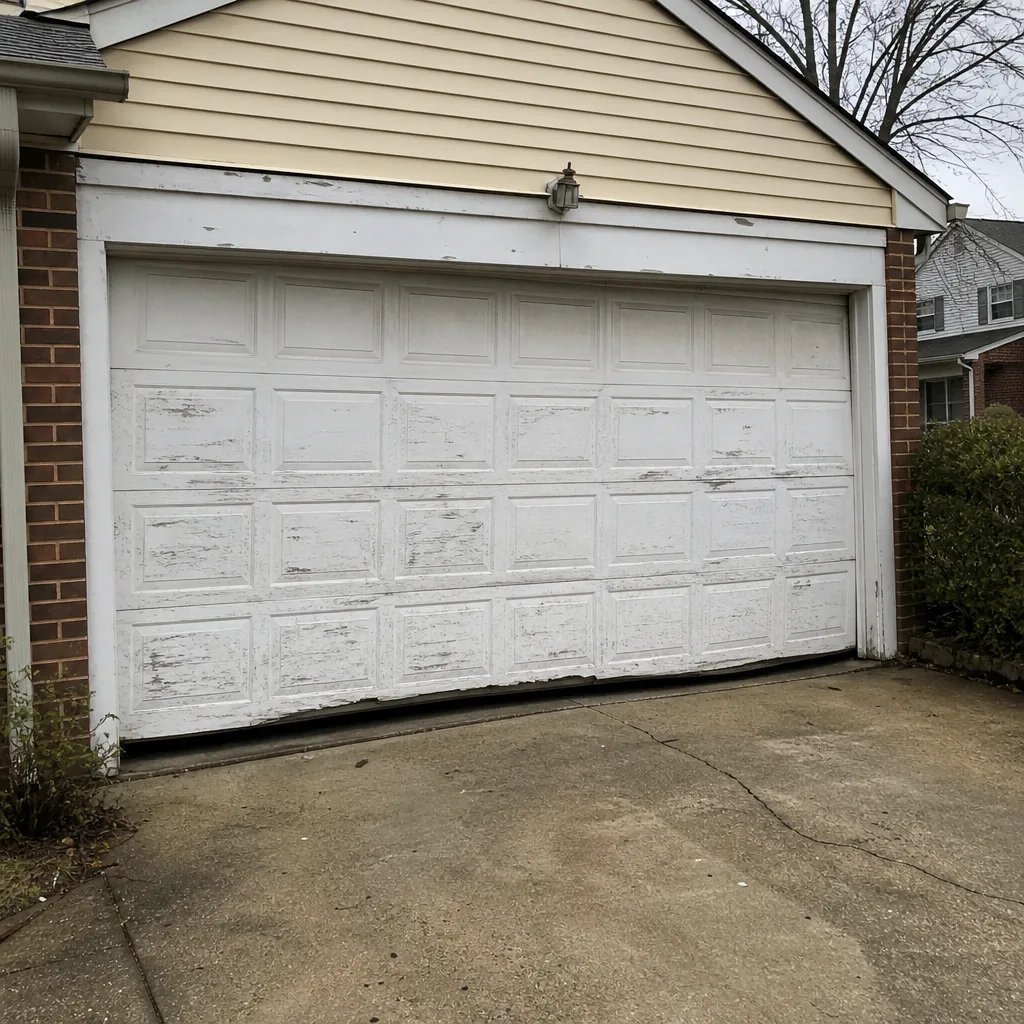 Before
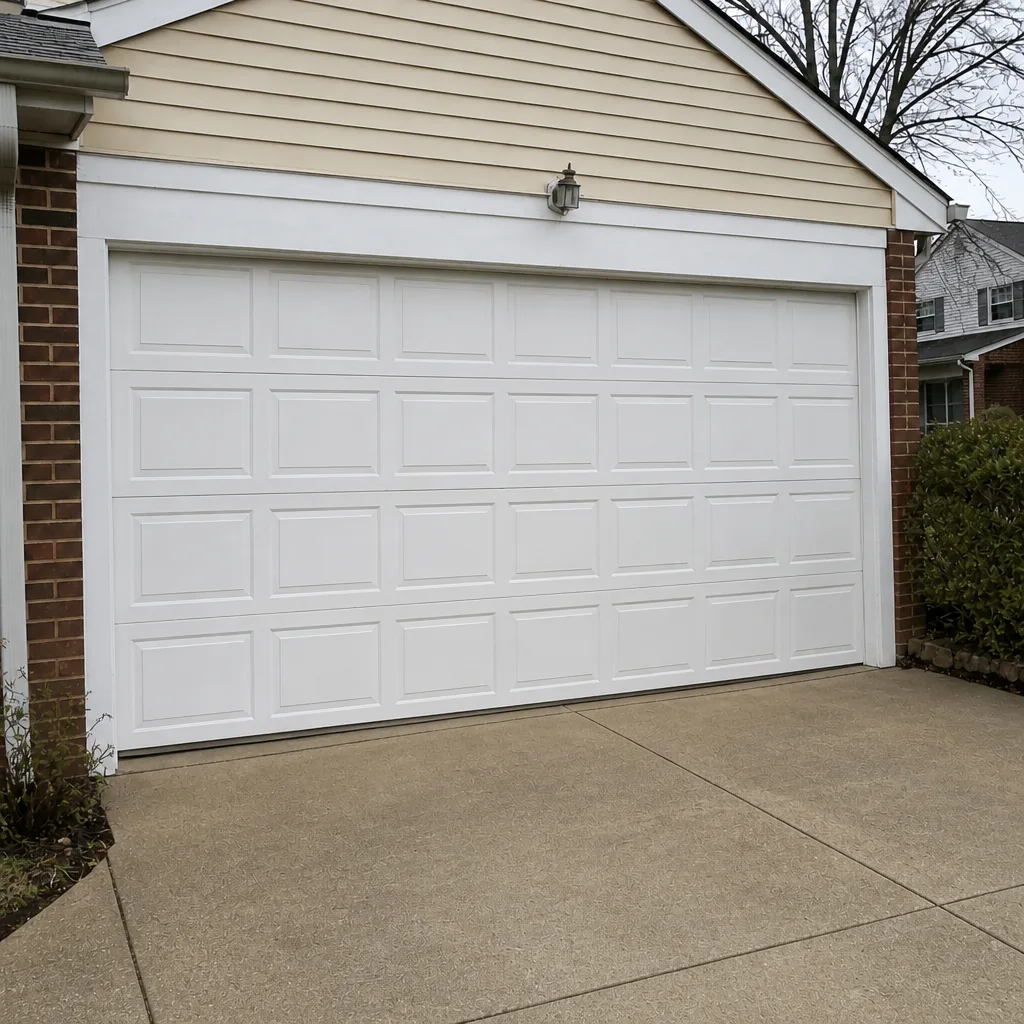 After
When to Call a Professional
Bring in a trained technician for any spring or cable issue, any door that fails the balance test, any track that’s out of alignment, any opener that won’t reverse on a test object after force adjustment, any grinding noise that doesn’t stop after a roller check, and any door that won’t open or close at all. Those are the jobs where a mistake is costly or unsafe. The flip side: monthly function testing, seasonal cleaning, and lubrication are all safe to do yourself with the right products.
Mechanicsville Garage Door Repair Pros offers free estimates in Mechanicsville – call (855) 600-1041. We focus on three things: door repair, opener repair, and spring repair. Our technicians have up to 13 years of experience and arrive familiar with LiftMaster, Chamberlain, Genie, Clopay, Amarr, Wayne Dalton, Craftsman, and Raynor systems, so your first call doesn’t turn into a research project.
Frequently Asked Questions
Use a lithium-based grease on the torsion spring, the roller stems and bearings, and the hinge pivots. Leave the tracks, the sealed roller wheels, and the opener rail dry, and never use WD-40 on nylon-coated rollers because it strips the coating. If you’re not sure which parts need it, the lubrication map above breaks it down by component.
Test auto-reverse once a month, and any time you’ve serviced the door or the opener. Place a roll of paper towels under the closing door and let the door come down on it; it should reverse on contact. If it doesn’t, the force setting needs adjusting. On a LiftMaster or Chamberlain, the force adjustment is on the motor unit or in the app, and the goal is the lowest setting that still closes the door. If you’re not comfortable adjusting it, call (855) 600-1041 and we’ll set it.
No. A torsion spring is under hundreds of pounds of tension and a spring that lets go mid-replacement can cause serious injury. A broken spring should be replaced by a trained technician with the right winding bars and procedure. In Mechanicsville, the local pro is licensed and insured as their state requires, and the price is quoted and agreed before any work starts. Call (855) 600-1041 for a free estimate.
Humidity makes the April check the most important one of the year: look for track alignment shifts, surface rust on springs and hardware, and swollen wood door joints. In October, after the dry months, the priority shifts to loose hinge bolts, roller condition, and door balance. Running the full checklist in April, a quick pass in October, and the monthly five-minute test in between catches most failures before they happen.
Grinding is almost always a roller, hinge, or track issue rather than an opener problem. A roller that’s come out of the track, a dry hinge, or a track that’s been bumped out of alignment are the three most common causes. Check for a flat-spotted or wobbly roller first, then look down the horizontal track for a bend. If the grind continues after a roller check, call (855) 600-1041 and a technician will diagnose it by brand – the fix for a LiftMaster opener and a Wayne Dalton door is often different.
No. The written estimate you agree to before any work starts is the price we hold to. If a technician finds a second issue once the door is open, they’ll explain it and give you a separate written estimate before touching anything else. That’s true whether the job is a spring replacement, an opener repair, or a full door repair. Call (855) 600-1041 for a free estimate.
A pass is a roller that spins freely by hand with a full nylon or steel wheel, no flat spot, and no wobble in the stem. A fail is a flat-spotted, wobbly, or squealing roller, a missing nylon wheel, or one that won’t spin. Failing rollers should be replaced as a set rather than one at a time, because they wear at the same rate.
No. WD-40 strips the nylon coating off sealed rollers and accelerates wear. Use a lithium-based grease on the roller stems and bearings and leave the wheel itself dry. If your rollers have already been sprayed with WD-40 for a while, they may be worn and due for replacement – a technician can tell you in a few minutes.
The Bottom Line
A garage door maintenance checklist that works is a specific one: lithium grease on the spring, roller stems, and hinges; dry cloth on the tracks; never WD-40 on sealed rollers. Test auto-reverse monthly with a roll of paper towels, run the full checklist in April, and do a quick pass in October before the dry air loosens your hardware. Balance the door by hand with the opener disengaged. Leave springs and cables to a technician, because high-tension work isn’t a homeowner job. And if your door grinds, won’t balance, or fails the safety test, the fix is one call away. If you’re in Mechanicsville and you’d rather have a trained technician look at it, call Mechanicsville Garage Door Repair Pros at (855) 600-1041 for a free estimate. We work on your brand, we diagnose by brand, and garage doors are all we do. Back up and running is the goal, and it starts with the right check.
Explore our main services at Mechanicsville Garage Door Repair Pros.
Written by the team at Mechanicsville Garage Door Repair Pros.